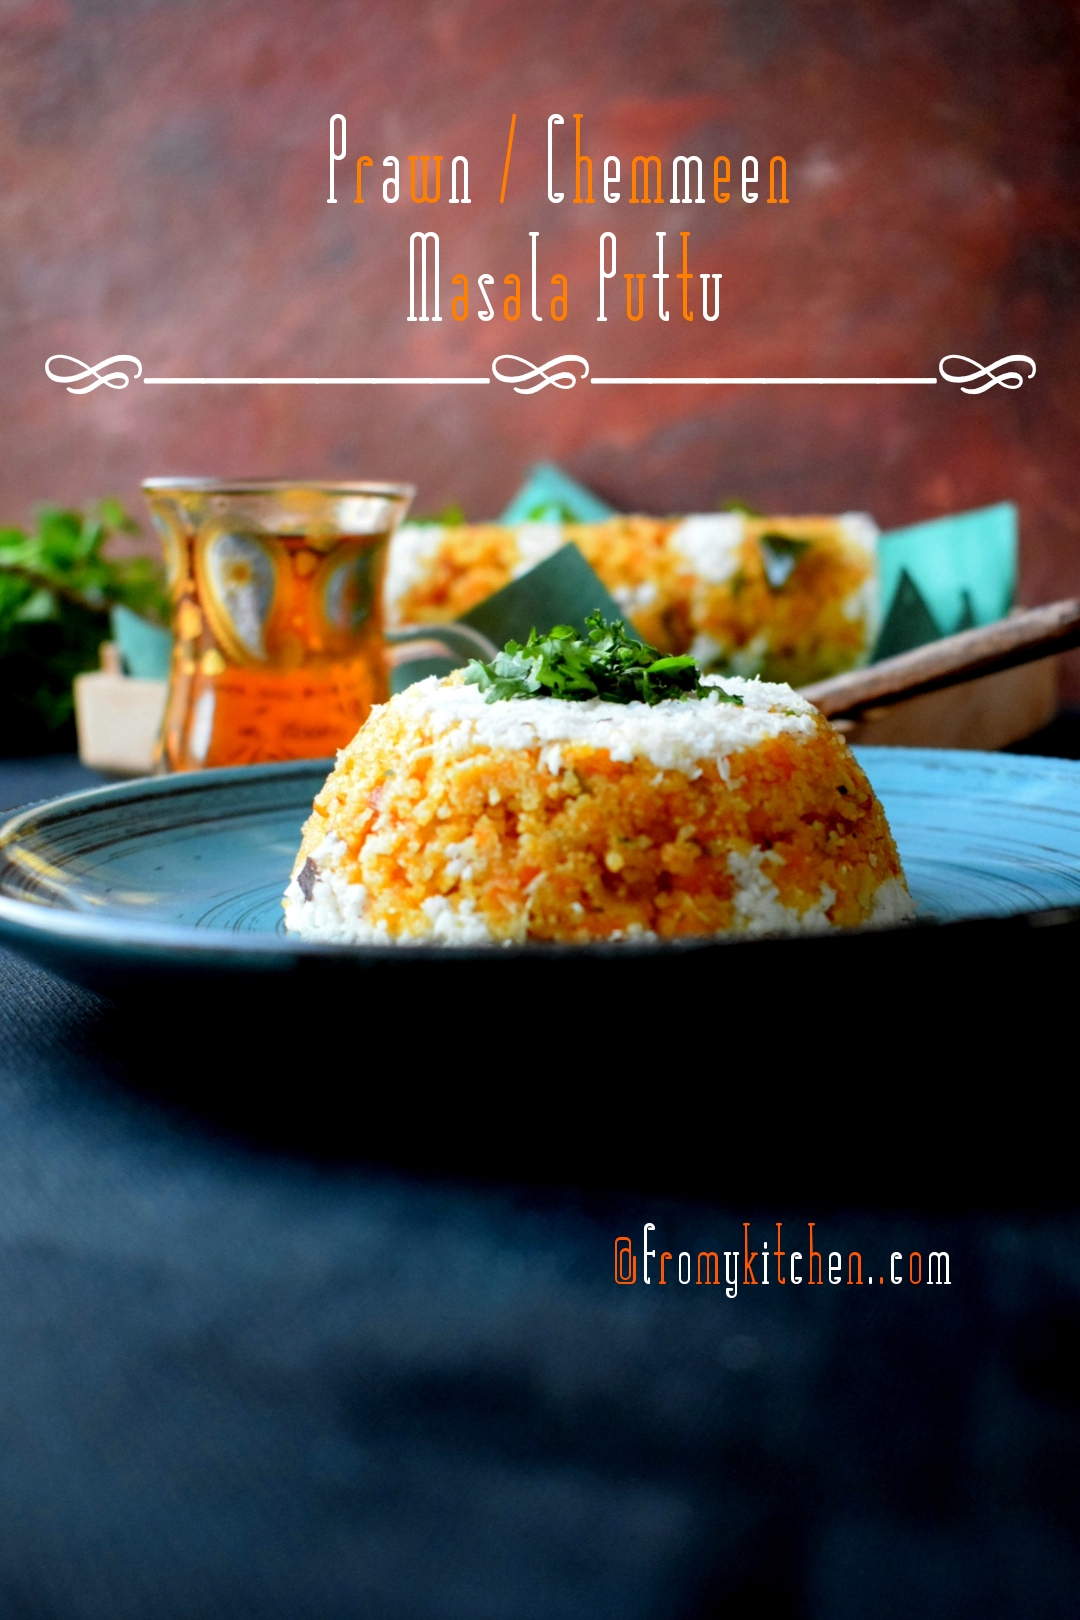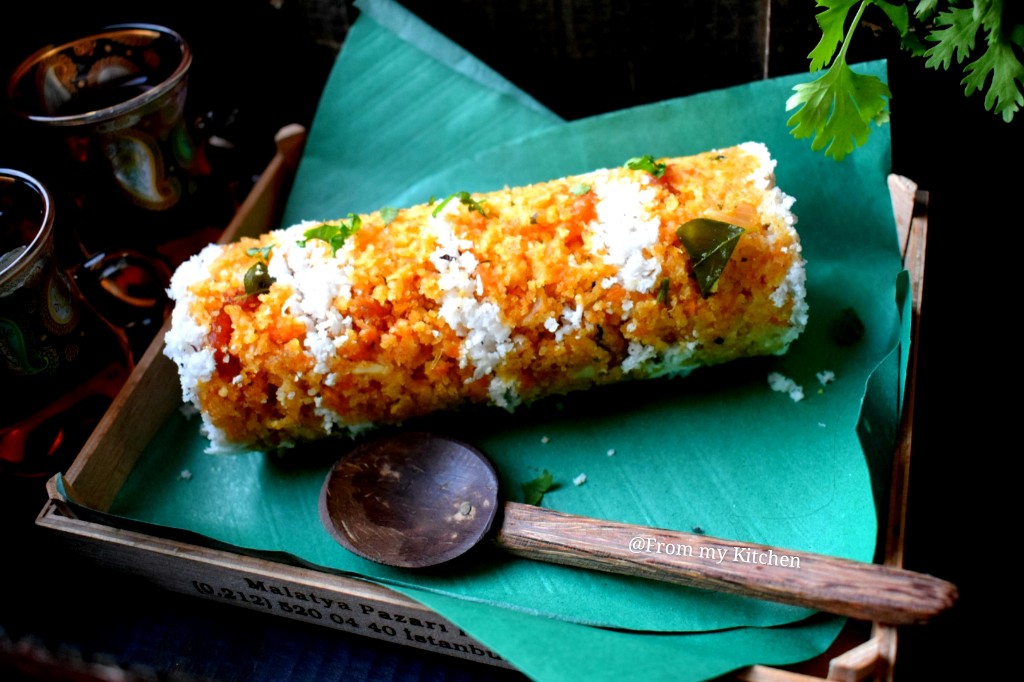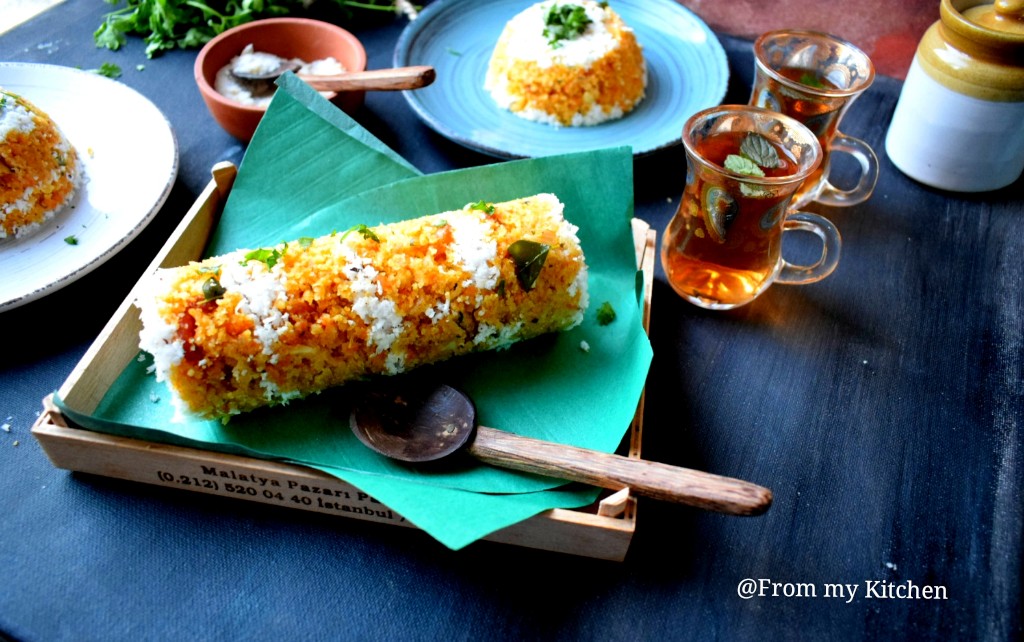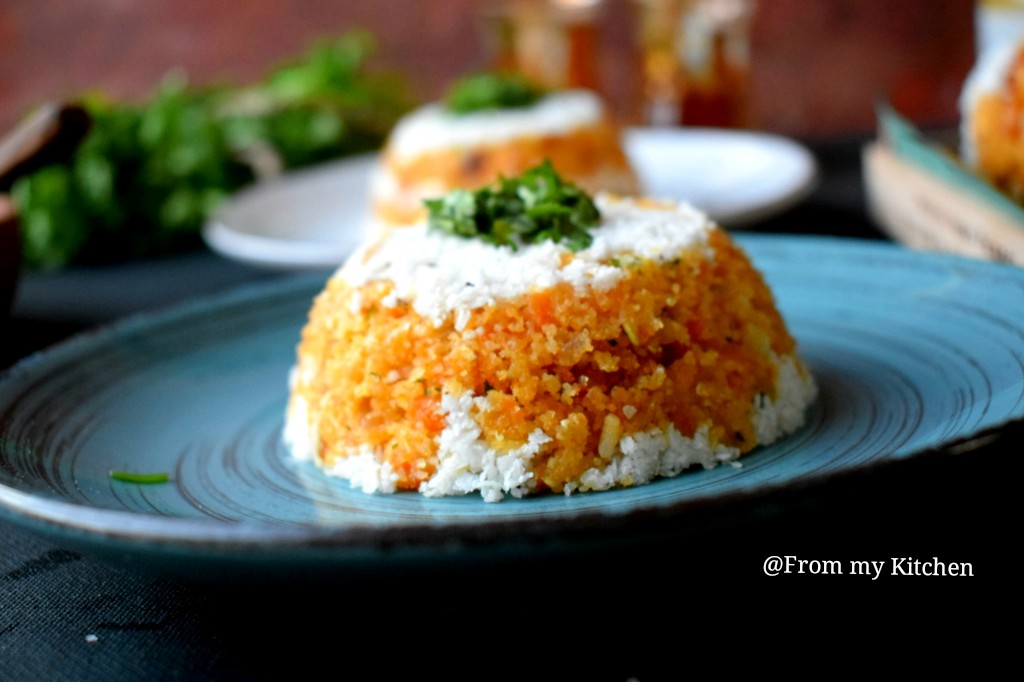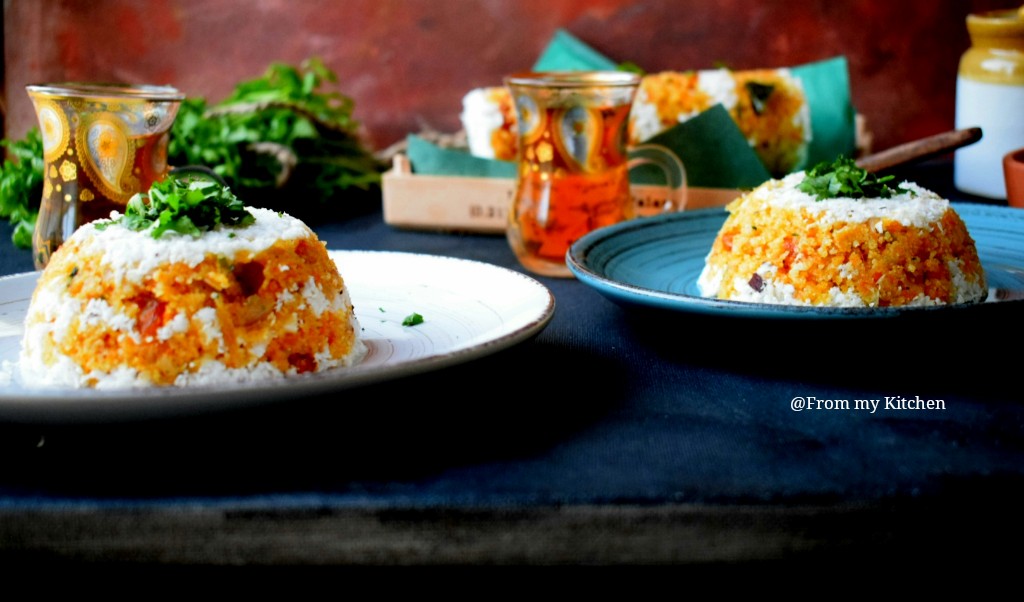
Prawn & Veg Masala Puttu
Puttu is a popular breakfast dish in Kerala which is paired with black chickpea curry(Puttu and kadala ). Yes, Puttu is Most favorite among Keralians! This is not only beautiful in its look but also healthy as it is a steamed dish. So why not a delicious twist to this popular puttu.
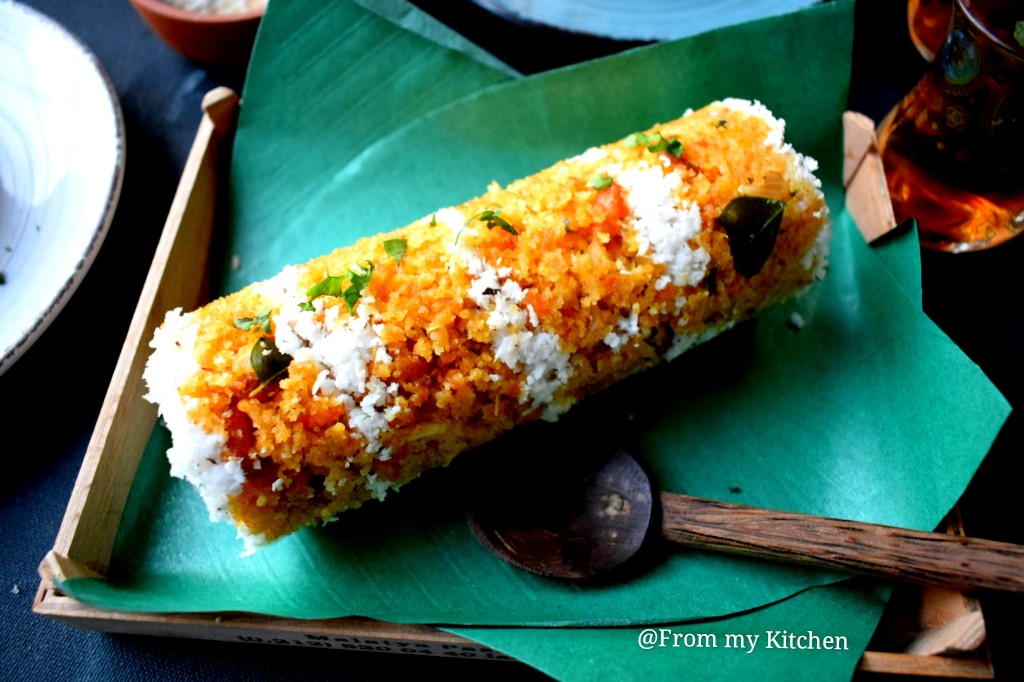
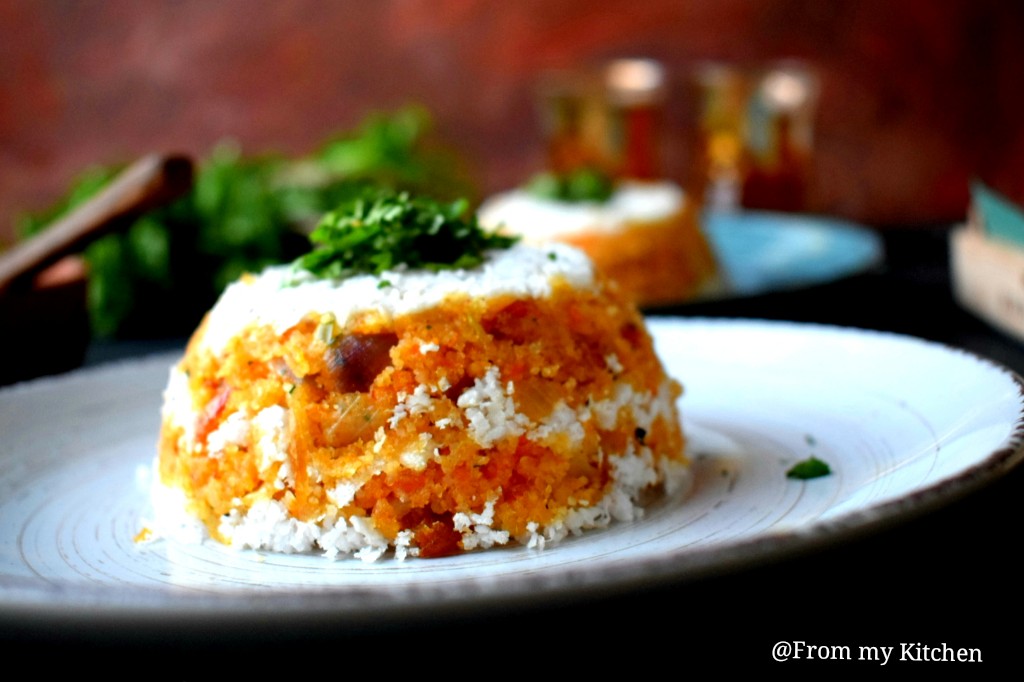
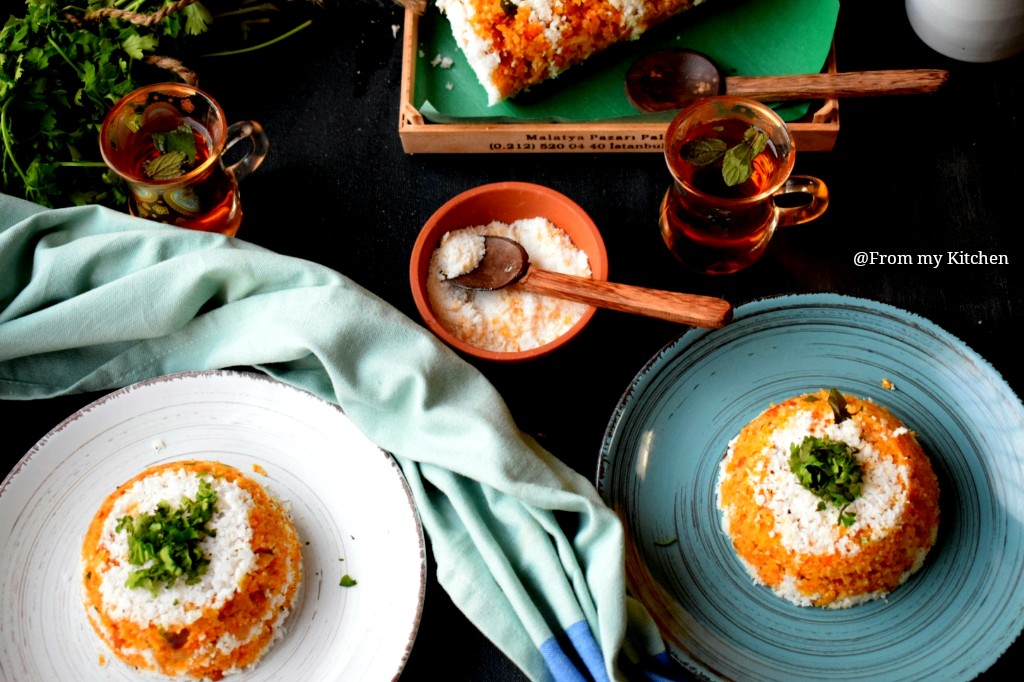
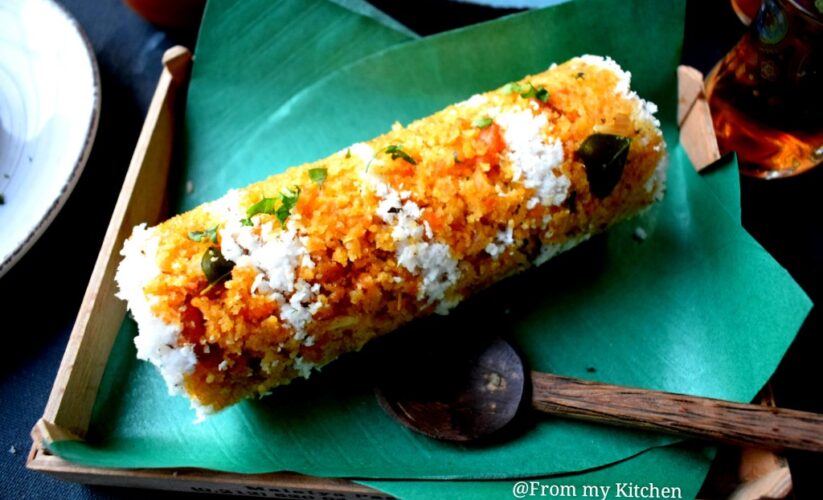
Yes, I know masala puttu are also common in our place like chemmeen(prawn)puttu, erachi (meat) puttu and what all varieties of puttu isn’t it? Even sweet varieties of puttus are available in restaurants nowadays, but i would always prefer a spicy one! Have you ever seen a prawn puttu in orange color? Normally if we are making masala puttu masala are layered along with coconut, but here the entire masala is mixed with the puttu podi(powder) and the water adding here is the prawn boiled one! Interesting isn’t it? It’s so flavorful and delicious that you can have it as is! The most loving part here is the addition of veggies along with the masala.
All credit for this recipe goes to my uppitha(dad’s sis) because she introduced this puttu to our family! I made some slight changes in it but the whole idea and recipe is hers. Love all her dishes especially her thari unda(rava laddu) oh my god it’s heavenly! So whenever i go there she used to make it!hehe!Thank you for many awesome stuffs and recipes.
So without further delay let’s check out the recipe
Ingredients
For Puttu Podi
- 2 cups parboiled rice soaked in water for 4 to 5 hours
For Prawns
- 400 gm prawns
- 1 n 1/2 tsp chilly powder
- Salt to taste
- Some water
- Oil for frying
- Lots of curry leaves
For Masala
- 2 medium-sized onions
- 5 cloves garlic
- 1-inch piece ginger
- 3 green chilies
- 1 large carrot
- Some beans
- Salt to taste
- 1/2 tsp garam masala
- Curry leaves and coriander leaves
- Coconut
Method
Making of Puttu Powder –
- After 5 hours of soaking wash and drain the rice in a colander. Let it sit there for 1 hour until all the water dries out. You can also spread it on a towel to make the process faster.
- Then in a mixer grinder grind the rice to a powder. Don’t make it too fine. For 2 cups add it in 2 additions and keep it aside.
Masala
- Boil the prawn with salt chilly powder and water. Add 1/2 to 3/4th cup water because we are preserving this water for wetting the flour.(check the video)
- When the prawn is cooked preserve the water for later use. Now pour some oil and fry the prawns. Add lots of curry leaves in it. Take out the prawns along with curry leaves and crush it in processer.
- In the same pan add chopped onions ginger garlic, green chilies and salt cook until soft, add veggies and cook until done.
- Add the crushed prawn and mix well. Add garam masala and coriander leaves mix well and switch off the flame.
Making of puttu
- For this, you will need puttu maker. Cylindrical metal utensil. I use the one that we can attach to the pressure cooker. Don’t forget to preheat the water before mixing for puttu.
- Now all the ingredients are ready – Puttu flour, Prawn Masala, Coconut, Salt and Prawn boiled Water lets assemble it.
- NOTE: In regular puttu making we used to steam the flour before layering the puttu, but here no need to do it.
- Mix the masala along with the puttu flour and combine well. Check for salt and add. Then add little by little prawn stalk until u get that right texture of puttu. Don’t add all the water, just check and add.
- Now start layering it by alternating with coconut. Steam it. Once it starts to release the steam press it gently with the back of a spoon and take it out. Let it sit there for few minutes and gently push it out. You will get that perfect puttu with the heavenly aroma that you can’t resist.
Here is the video tutorial!
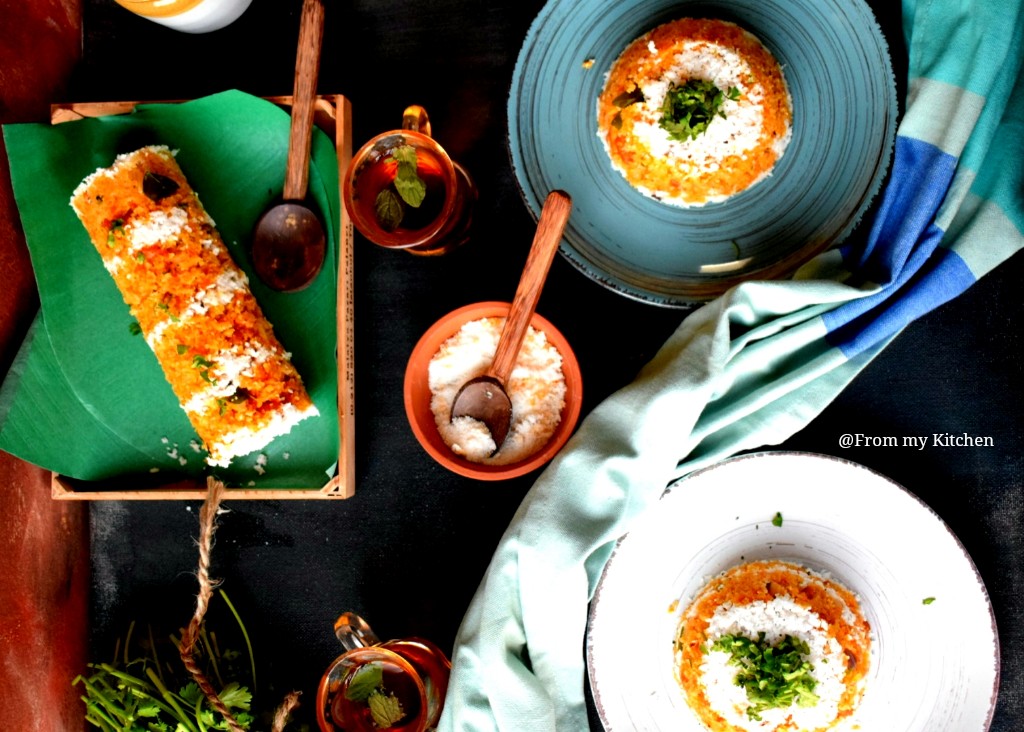
I’m sure puttu lovers are gonna love me for this recipe. This is soft and delicious with a distinctive twist in it. We had it without any side dish, but still if you like you can serve any semi-thick gravy to pair it with.
Happy Cooking!

